


Website Creation From MBVI: 5 Steps With How To’s


Sit back and let us create a stunning and state-of-the-art digital home for your clients and guests to visit. Below you will have your questions answered and can view a step by step guide on how to have us build your site.
Step 1
Order Placement
If you have not placed the order for your website to be made, you can do so here:
Important: Don’t forget to consider the SEO Add-On service when checking out. This will help your sites rank and appear on Google when a related keyword is searched for.
The SEO Add-On service includes:
SEO keyword research and analysis
Competitor research and analysis
Blog posts with optimized keywords
Google indexing
Optimized tags & keywords throughout the website
SEO final analysis and audit
*Note: If you plan on having a store to sell products and need us to set it up, additional fee’s may incur. Please reach out to us prior to order placement for a quote.
Step 2
Onboarding
Once the order is placed, let’s get you onboarded!
In order to gather the correct information to turn your vision into a reality, we will need to gather some key information from you in the onboard form below. If you don’t have anything creative yet in mind; no worries, we do!
After you submit the onboard form, we will review the information and materials you've provided. If we need any additional details or media to enhance the website, we'll reach out to request them. We may also contact you for clarifications to ensure everything is accurate and aligns with your vision. If no further information is needed, we'll proceed directly with designing your website.
Step 3
Begin Website Creation
The site creation will initially take place in our Squarespace account. Once the site is completed, typically within 1-2 weeks, it will be transferred to your account. At that time, you can review the site and request any minor adjustments.
Step 4
Sign Up with Squarespace and Choose a Plan
We will now send an invite to gain access to the website to an email of your choice.* You should now see the website in your dashboard once you accept the invite from your email.
*Tip: We recommend signing up with a Google (Gmail) account. Creating a business-specific Google email will help in the long run, especially if the SEO Add-On was purchased.
You will then need to register with Squarespace and purchase a plan to host the site. To get started, click the 3 small dots and then “Billing” (screenshot below).

Now in the Billing section of Settings, click “Subscriptions”. On the next screen click where it says “Website” under Trail Subscriptions.

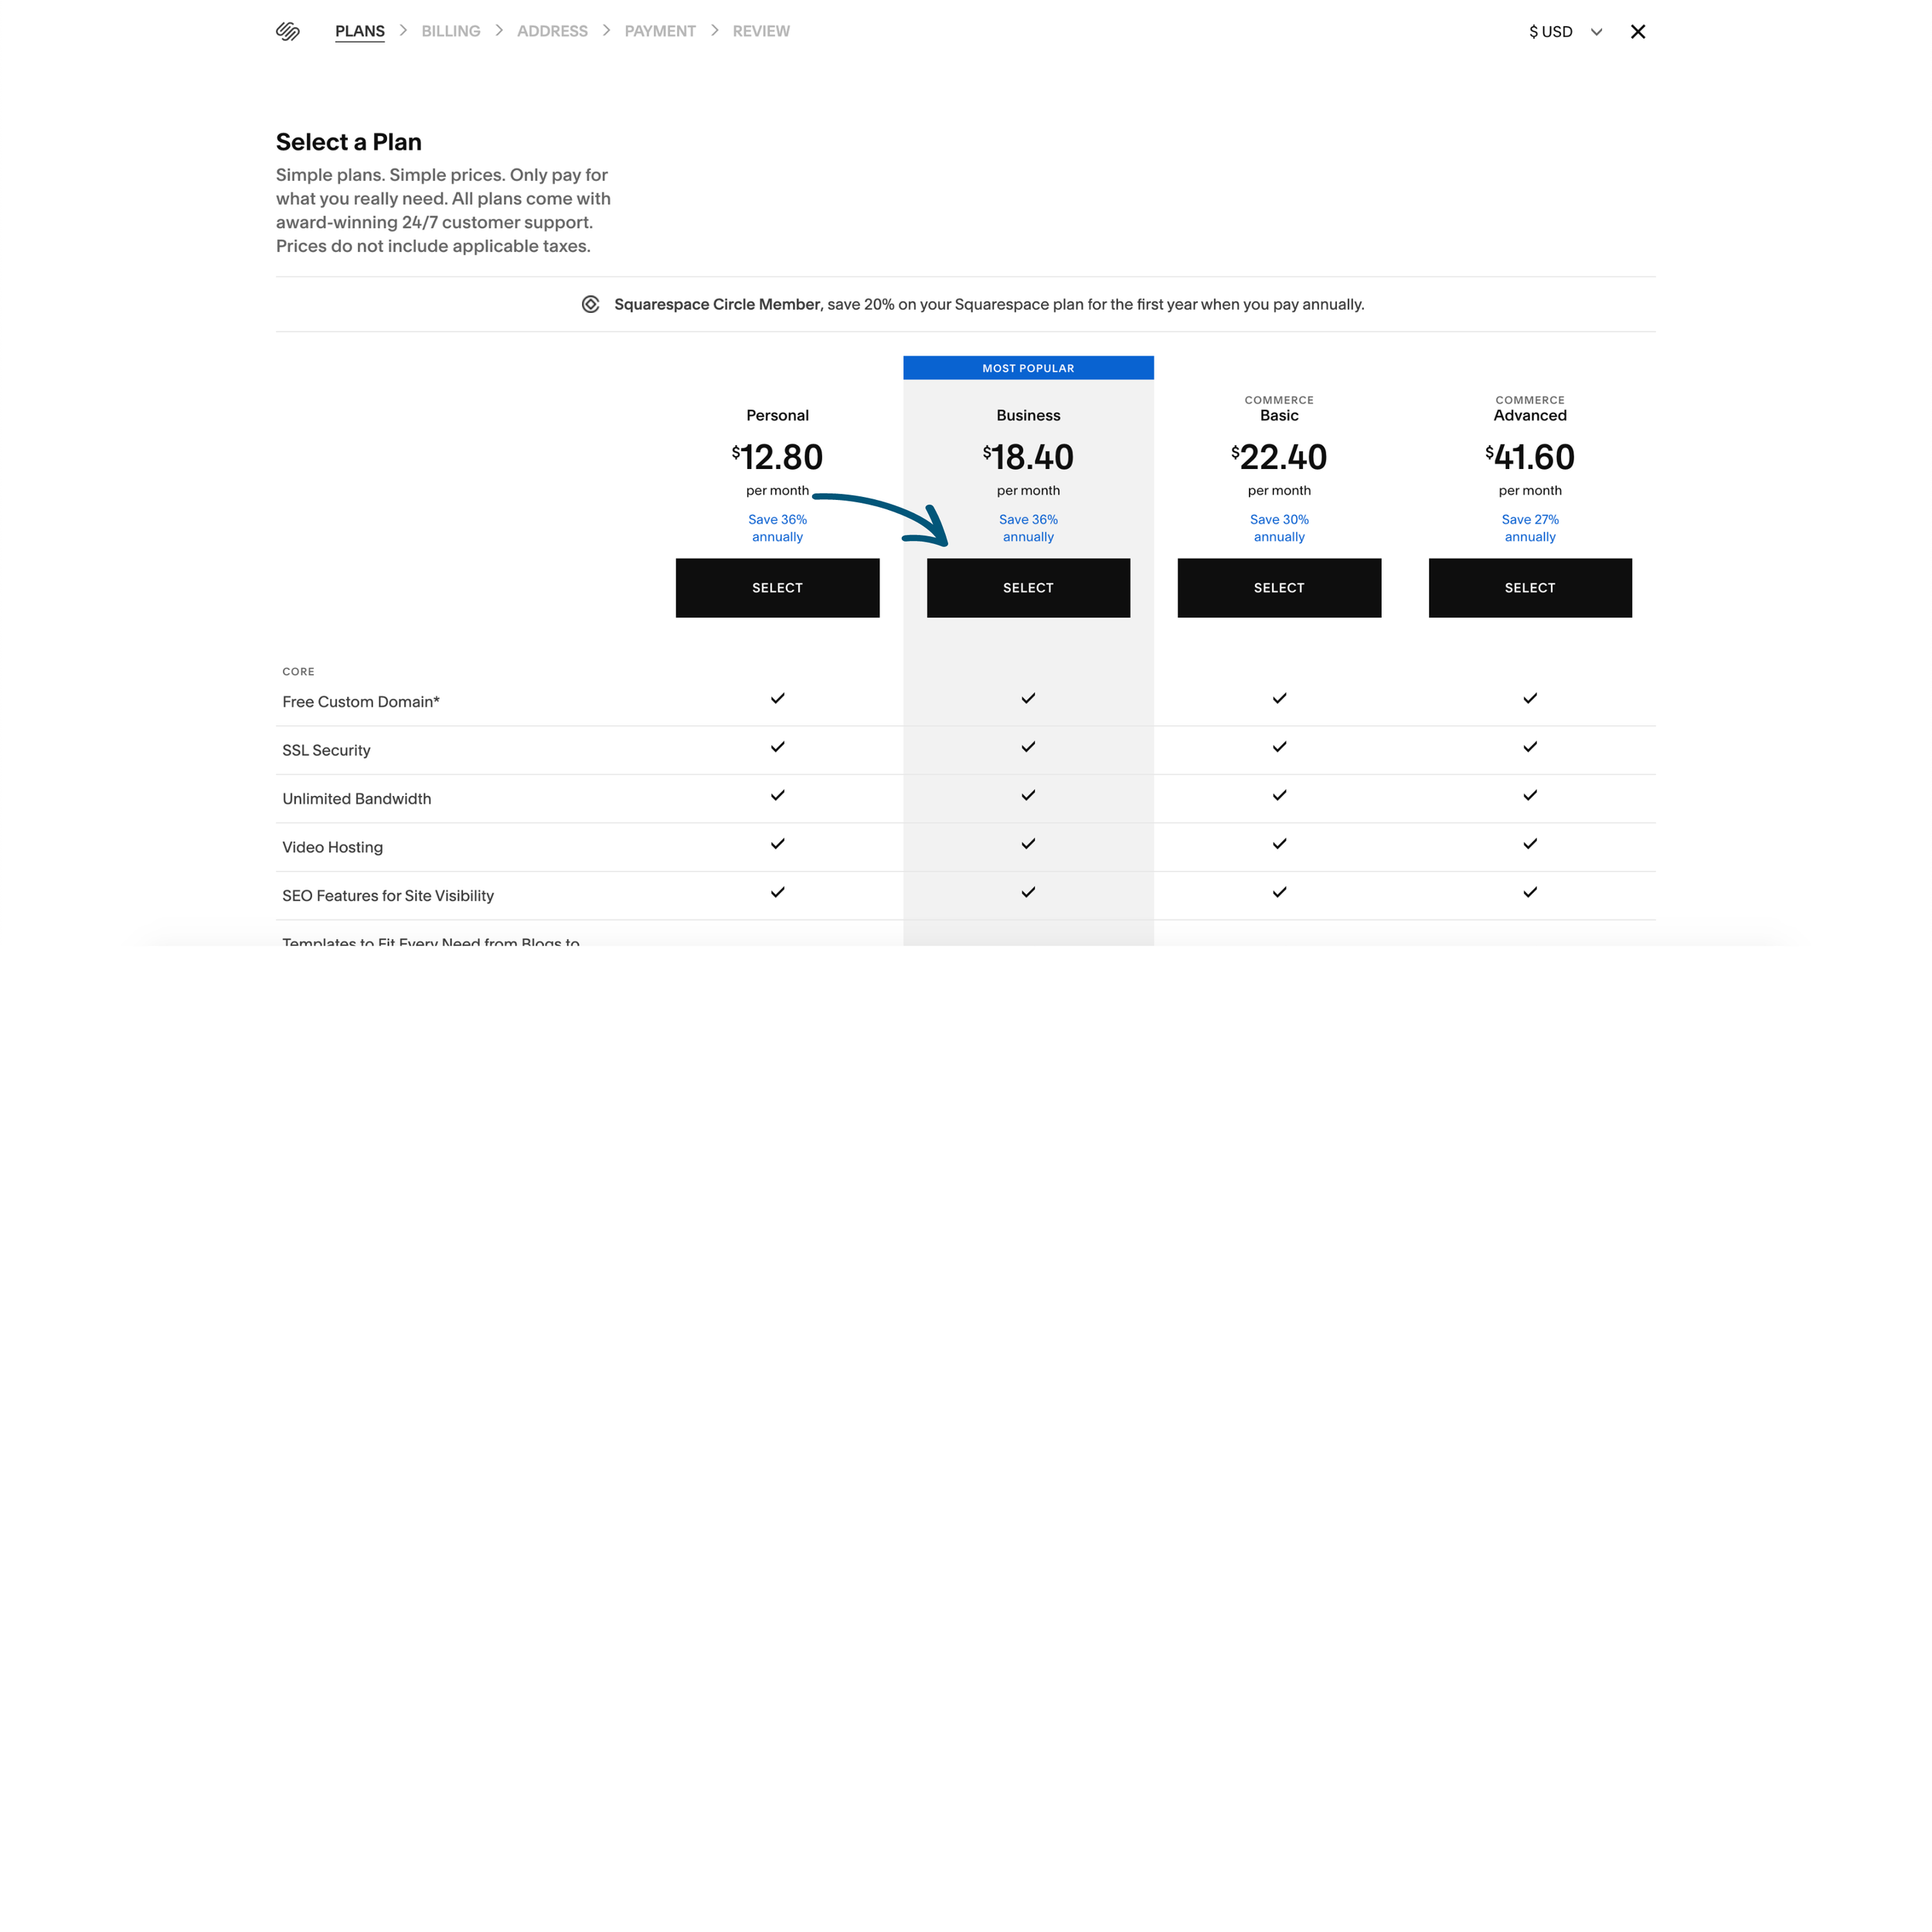
You will now be on the screen to select and purchase a plan. We recommend purchasing the Business plan for most websites. Note: If you plan on selling products through a store, a Commerce plan would be best, but extra MBVI fees will incur to set a store up.
Follow the prompts to purchase.
Step 5
Purchase a Domain
We recommend purchasing a domain (the URL starting with “www” through Squarespace (here’s how). However, if you prefer to use another hosting service such as GoDaddy, we can direct it to the website when it is ready to be live.
*Note: We will discuss which domain is best, but avoid lengthy domains or one with a “ -”. These are not ideal for Search Engine Optimization.
If you prefer to have multiple domains that redirect, we can adjust the DNS settings to point them to the main domain.
If you run into any issues or have any questions, feel free to email us at mbvi@mediaboostvi.com to schedule a screensharing video call.